Managing your data with interactive tables
Use the Tables page to easily view, edit, and manage your database entries
The Tables page in the Neon Console offers a dynamic, visual interface for managing data. Fully interactive, this view lets you add, update, and delete records, filter data, modify columns, drop or truncate tables, as well as export data in both .json and .csv formats.
note
The Tables page is powered by Drizzle Studio. For new features and updates, please refer to the Neon Drizzle Studio Changelog.
Edit records
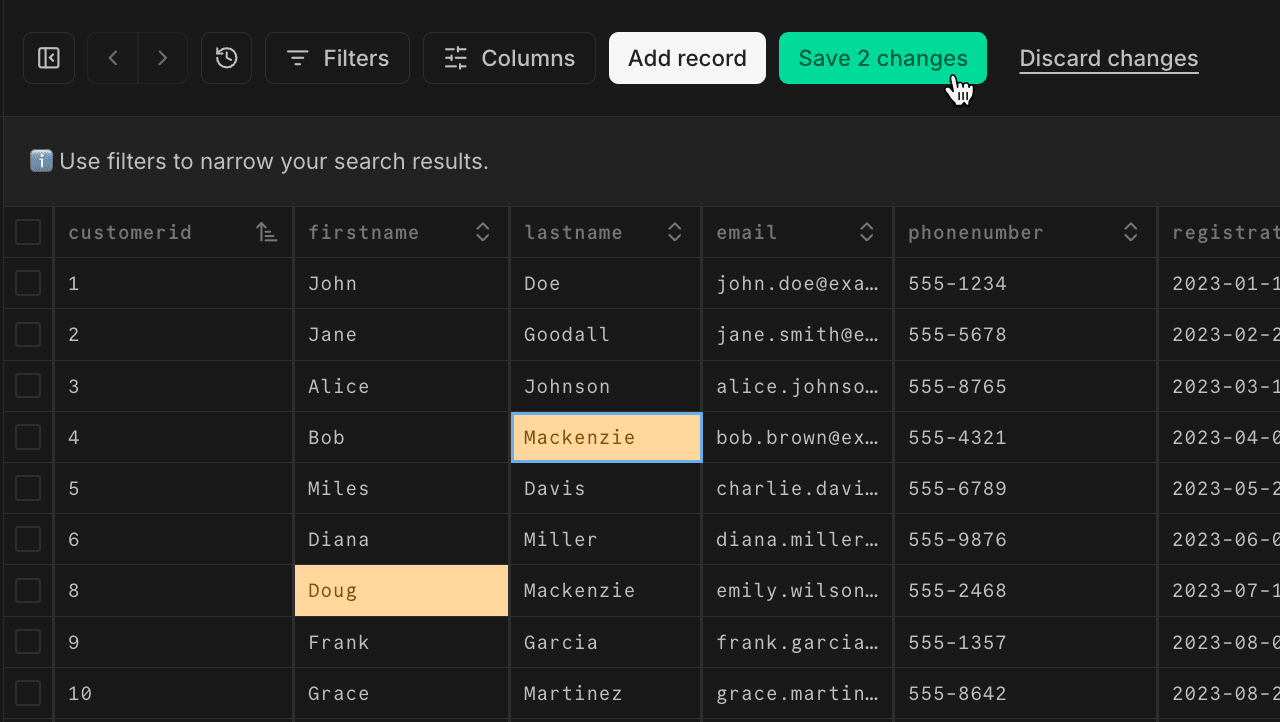
Edit individual entries directly within the table interface. Click on a cell to modify its contents. You don't have to press Enter (though you can). Just move your cursor to the next cell you want to modify. Click Save x changes when you're done.
Add records
Add new records to your tables using the Add record button.
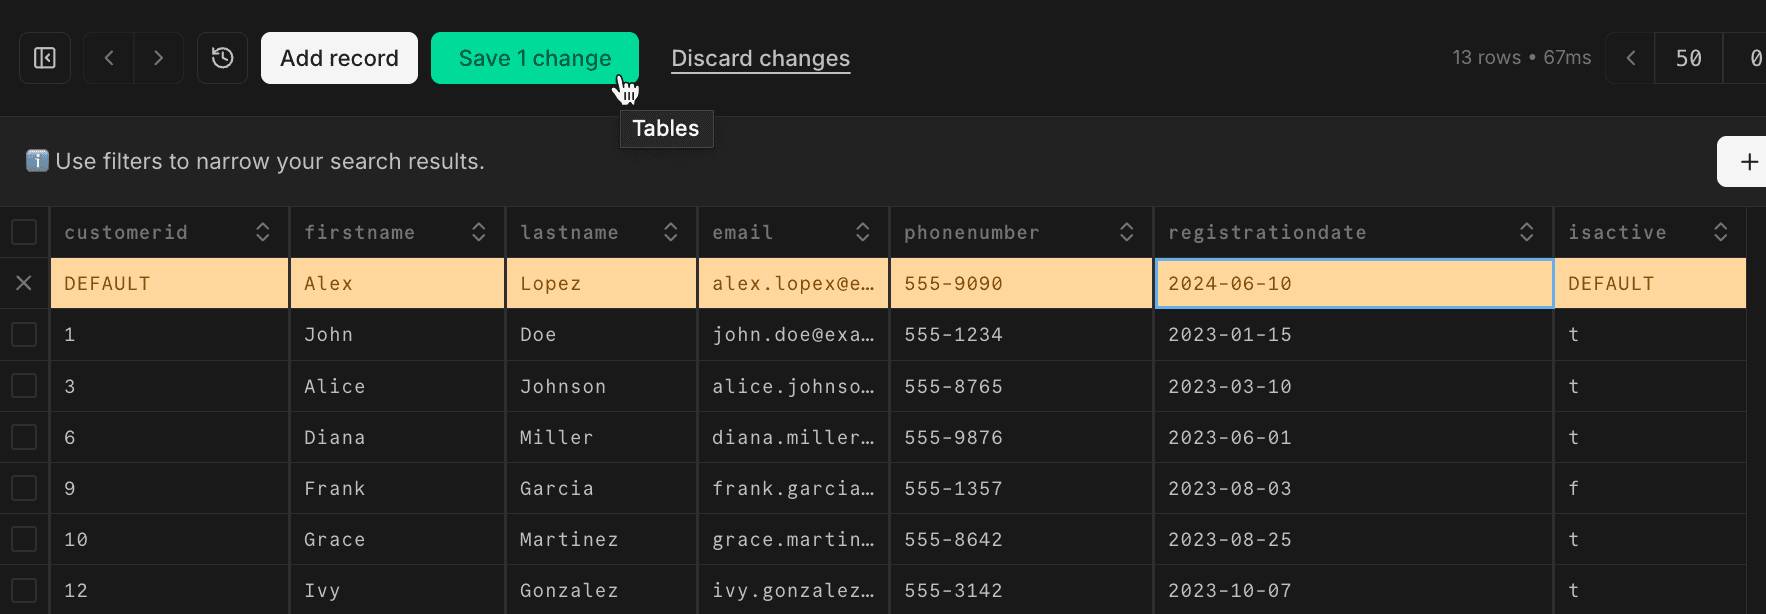
A couple of things to note:
- You need to hit
Enterfor your input to register. When editing existing fields, you don't have to do this. But for new fields, if you tab to the next cell, you'll lose your input. - You can leave
DEFAULTfields untouched and the cell will inherit the right value based on your schema definition. For example, defaults for boolean fields are automatically applied when you clickSave changes.
Toggle columns
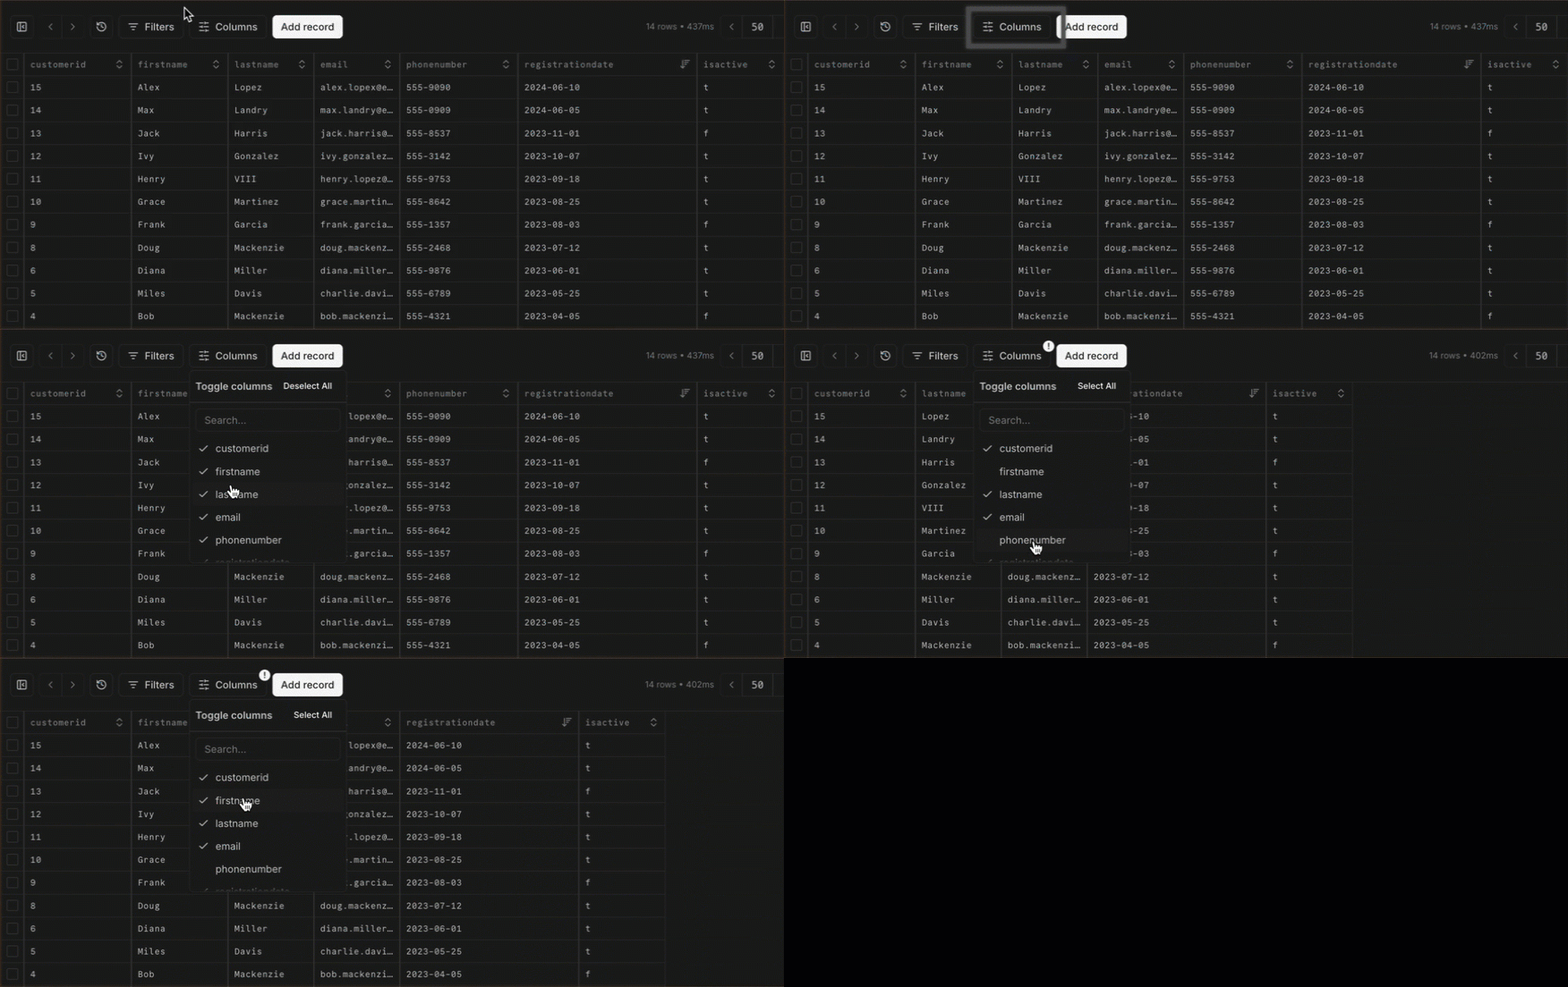
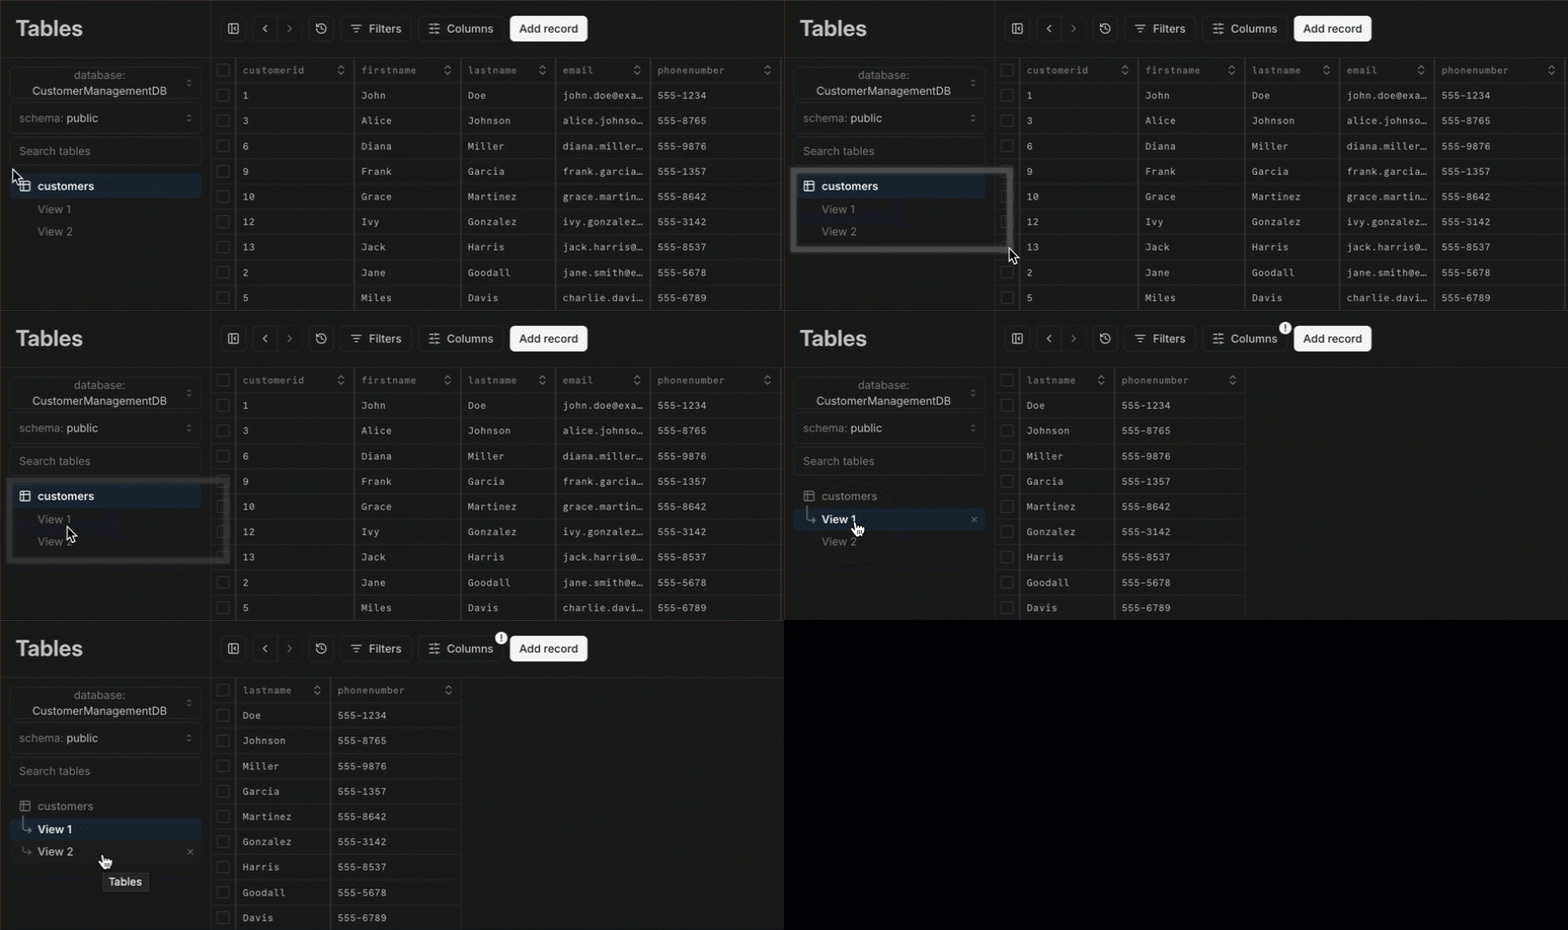
You can simplify your view by hiding (or showing) individual columns in the table. You're not modifying content here; deselect a checked column to hide it, and re-select the column to show it again. Your selections are saved as a persistent filter.
Add filters
Filters let you store simplified views of your data that you can come back to later. You can use dropdown-filtering to select columns, conditions, and input text for the filter.
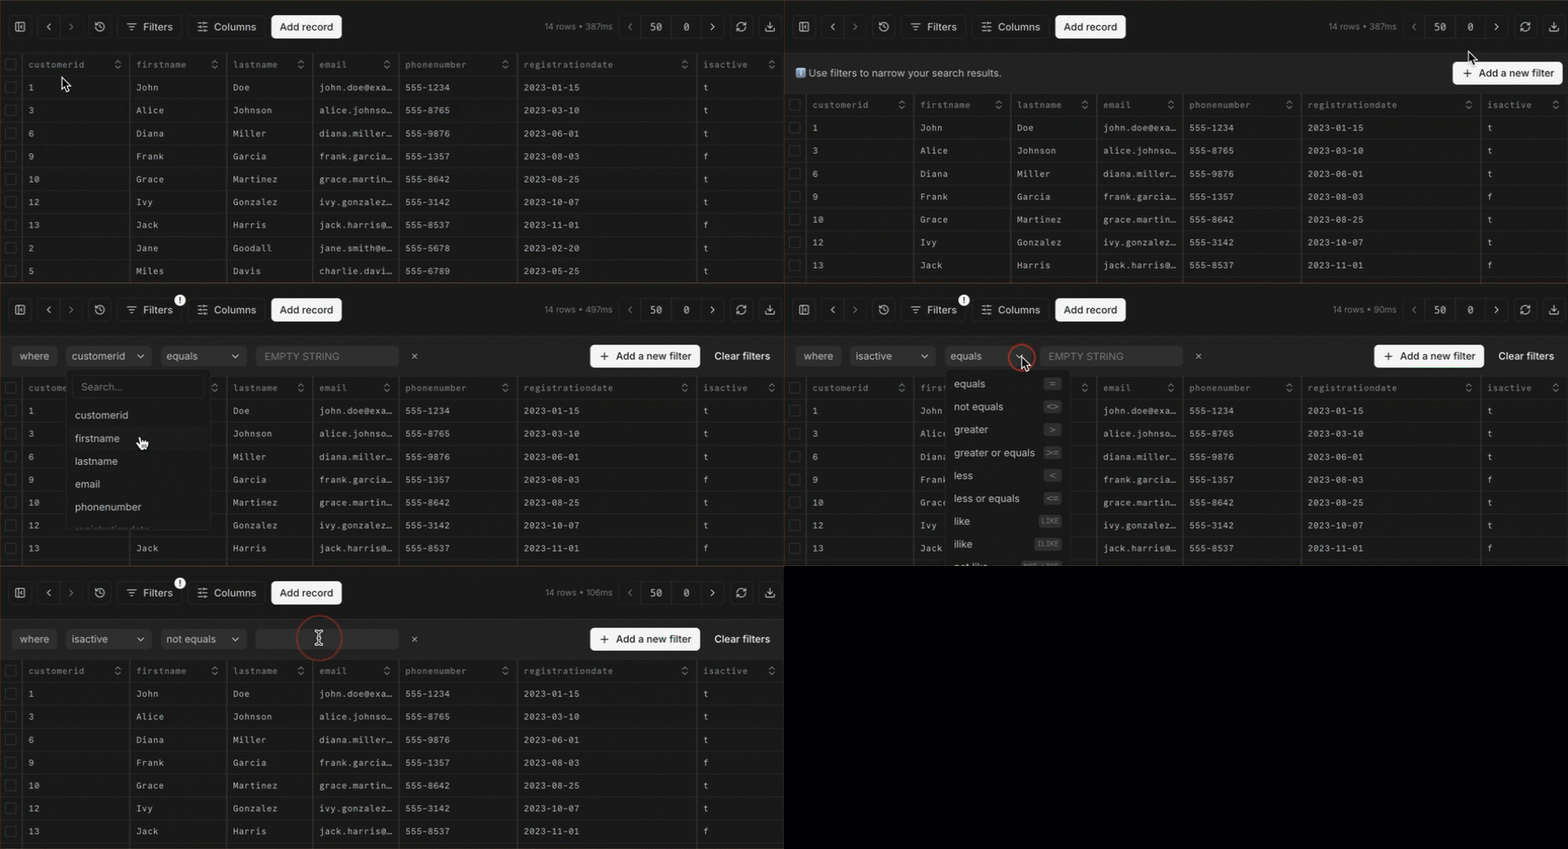
Each new filter is added as a View under your list of Tables.
Delete records
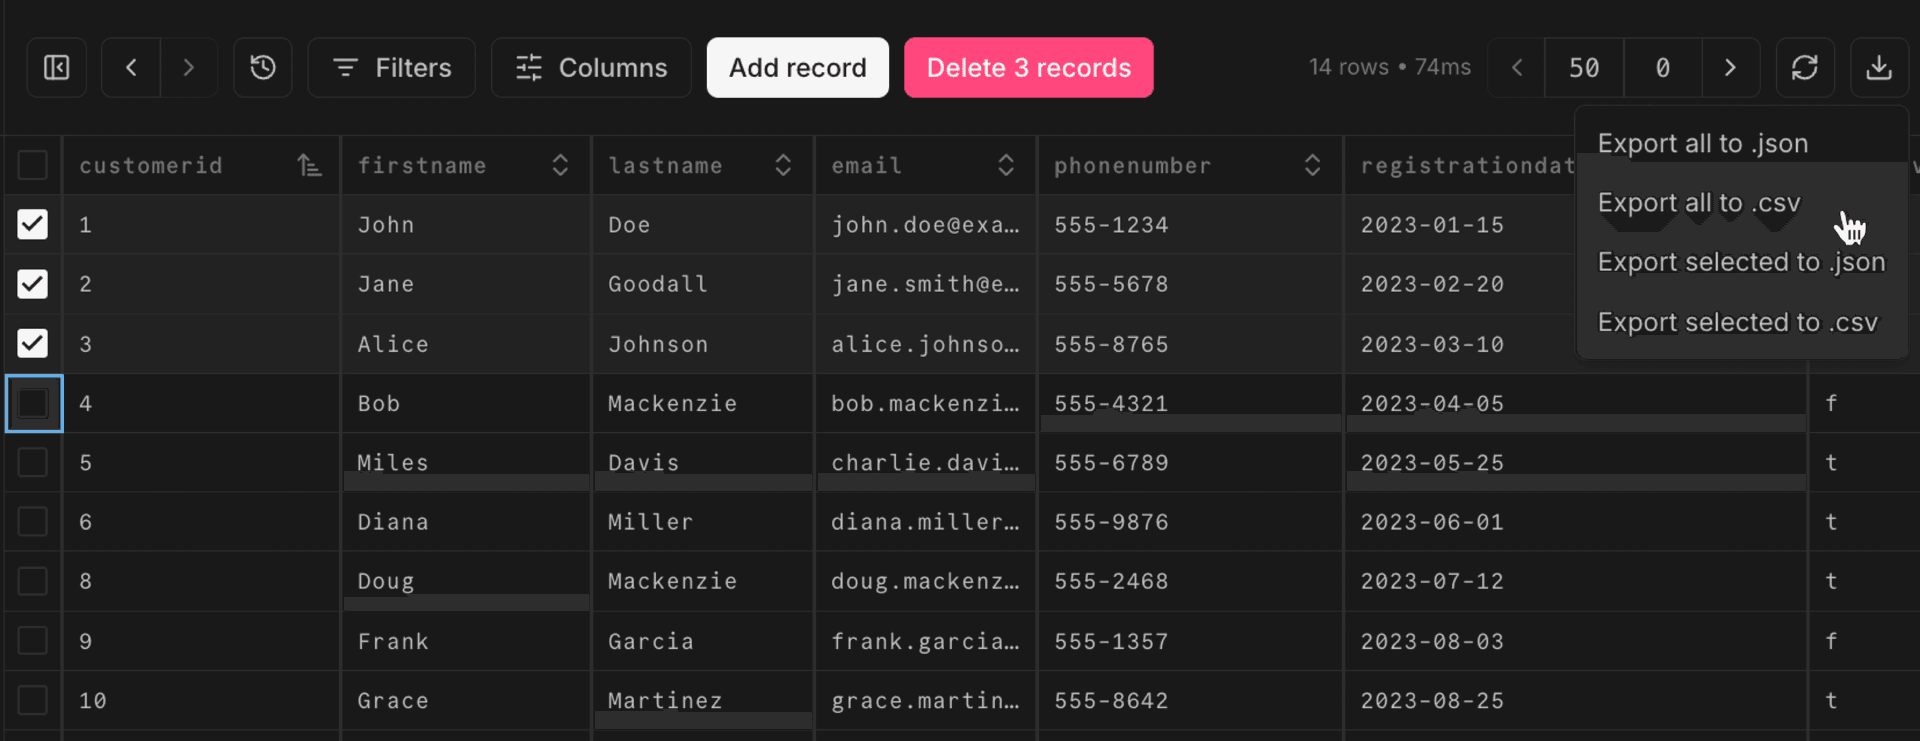
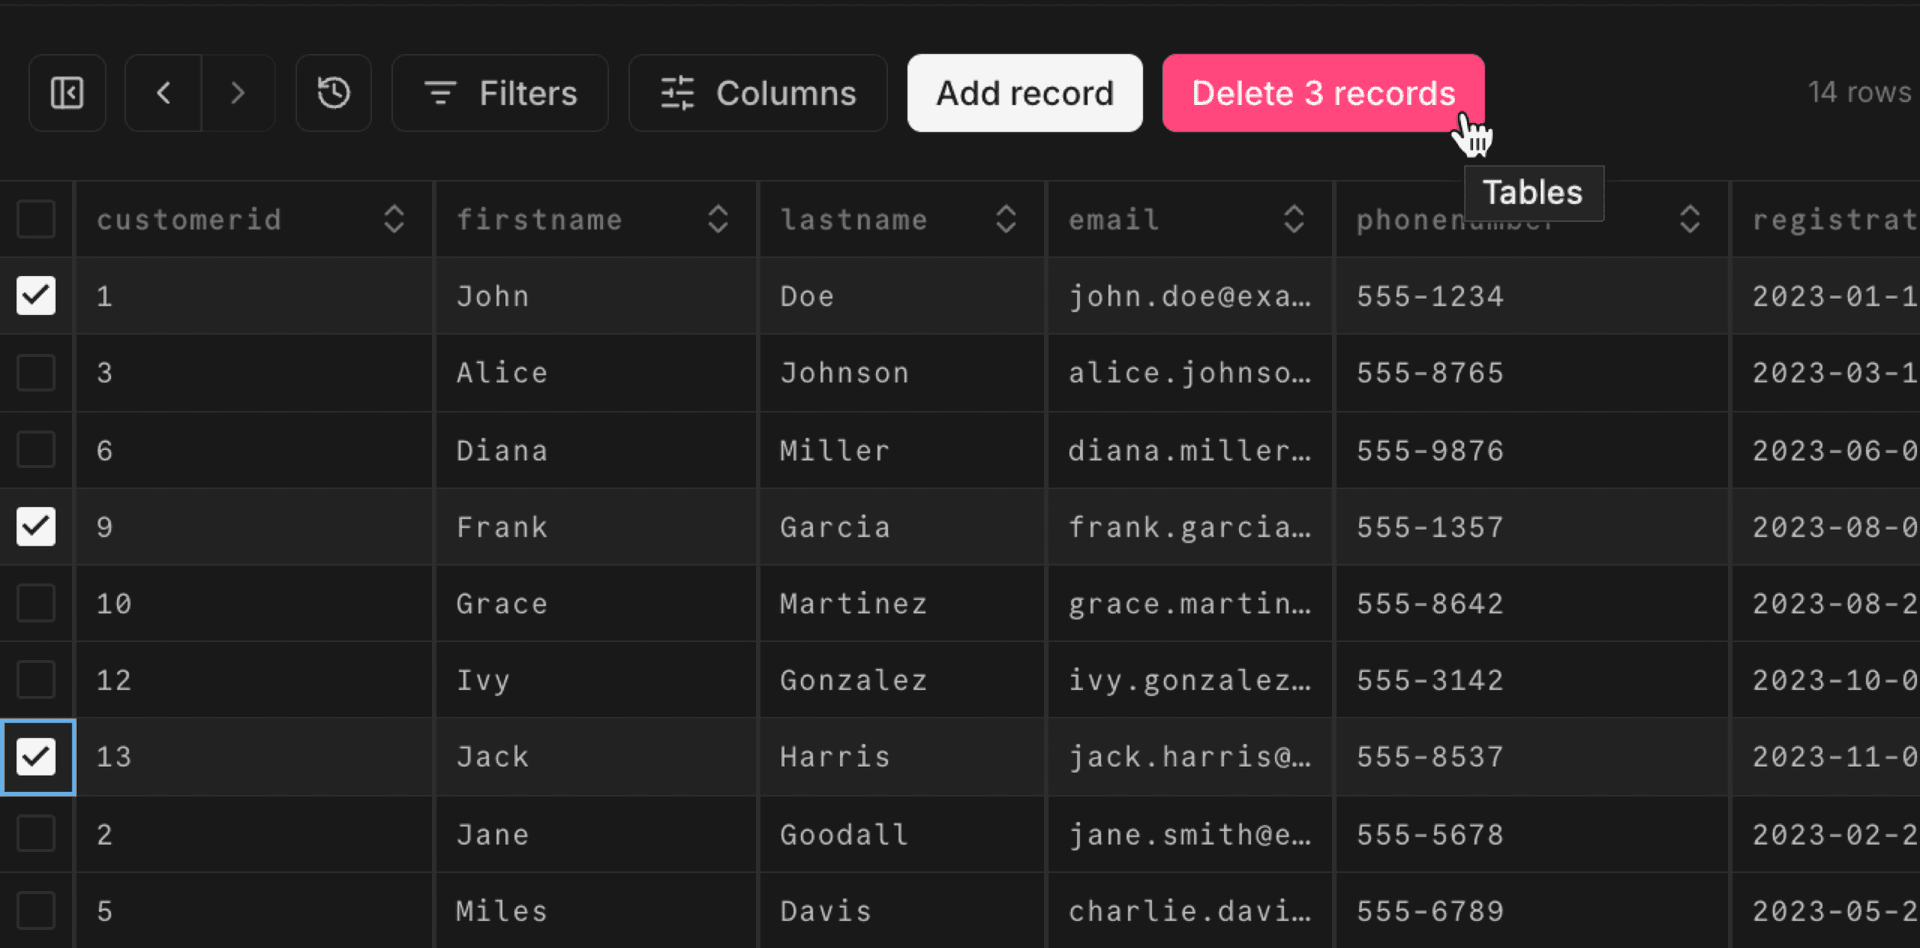
Use the checkboxes to mark any unwanted records for deletion, or use the select-all checkbox for bulk deletion. Click Delete x records to complete the process.
Export data
You can also use the checkboxes to mark records for export. Select the records you want to include in your export, then choose Export selected... from the export dropdown.
Or just choose Export all.. to download the entire contents of the table.
You can export to either JSON or CSV.
